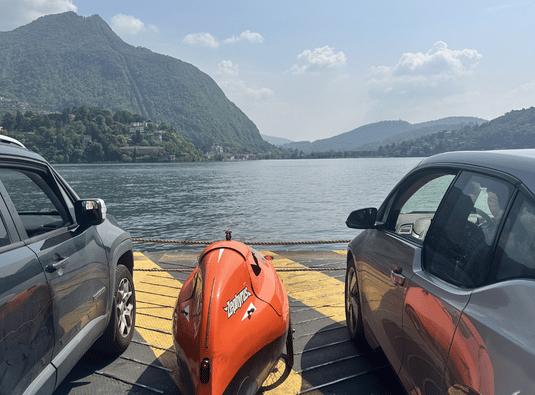
From Zero to Hero: Building a Velomobile with Only Passion
- Reading time: 7 min .
- Written by Jan Wijnen
- Checked by Jan Wijnen
Every day, we look at user journeys, metrics, and build data. But numbers only tell part of the story. The real heart of the Velomobile community belongs to the people who seek more than a bike. They want to create a part of themselves.
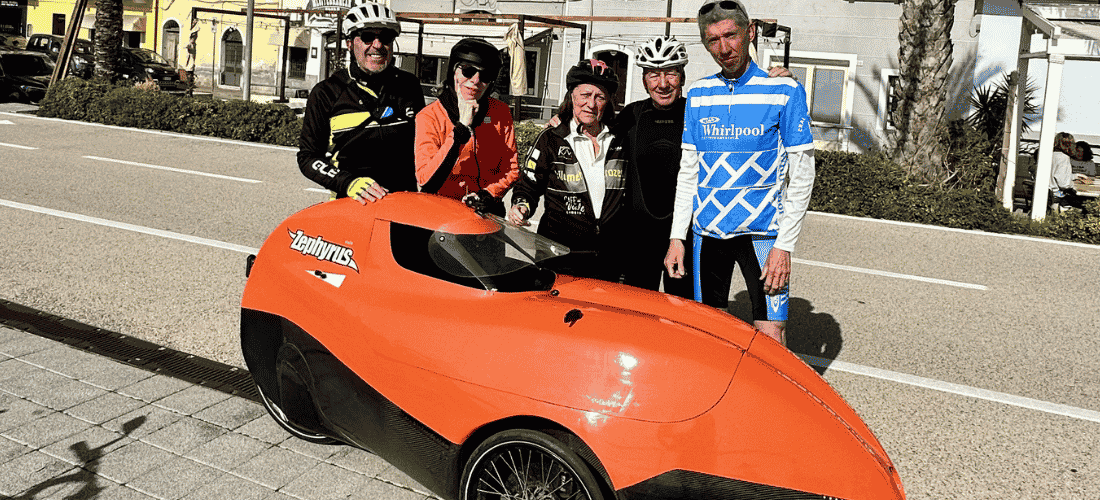
This is exactly what our client, Massimo Pavan, did. Long before he came to Velomobile World to test ride and order a Bülk Race and also becoming an ambassador, Massimo embarked on a profound engineering journey in a garage with a dedicated group of friends.
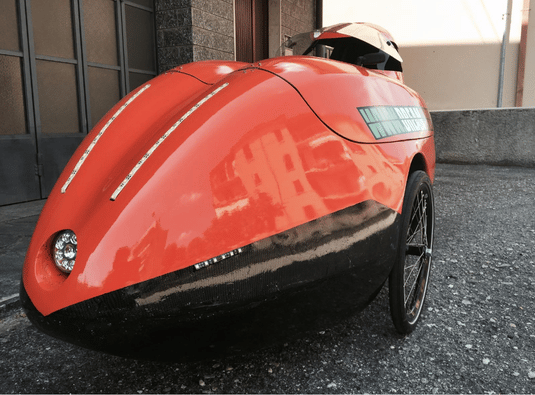
Ten years ago, they set out to create their own custom velomobile from scratch: the T-REX.
Building a Velomobile - How it all started
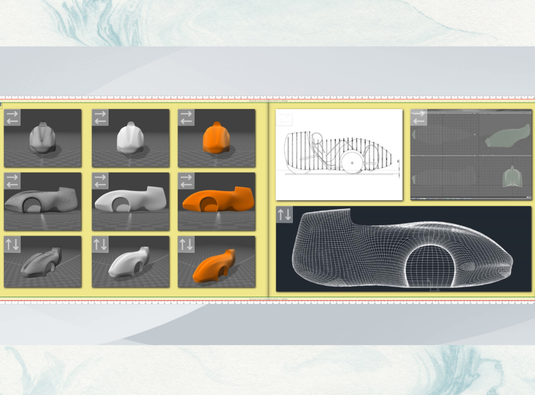
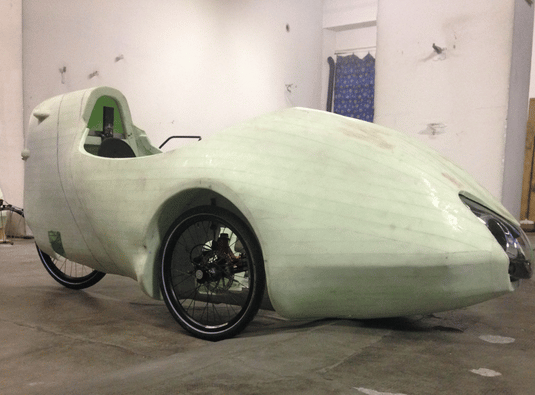
Massimo brought along a beautifully documented photo album titled Ricetta per un velomobile (“Recipe for a Velomobile”), which began around 2016. It wasn’t just a collection of memories; it was a testament to classic, hands-on garage engineering.
The Step-by-Step Garage Build Workflow
Here is the exact step-by-step process Massimo and his team followed to bring the T-REX velomobile to life:
-
1. Design & Planning: Mapping out track width, turning radiuses, and rider ergonomics. The goal here is calculating clearances to keep the shell as narrow as possible while still giving your legs room to peddle efficiently.
-
2. Trike: Fabricating and welding the raw recumbent trike frame tubes, setting up the steering geometry, and routing the initial drivetrain components.
-
3. The “Skeleton”: Creating a physical “plug” (male mold) by aligning wooden cross-sectional ribs along a central axis and filling the gaps with foam to sculpt the vehicle’s aerodynamic shape.
-
4. Resin & Fiber Layup: Working the fiberglass cloth and epoxy resin into the curves of the plug by hand, ensuring the fabric is perfectly saturated without adding unnecessary weight.
-
5. Cutting the Openings: Carefully measuring and cutting out the critical entryways: the cockpit opening, wheel wells for steering clearance, and technical recesses for lights.
-
6. Interior: Finishing the interior boundaries where the rider sits and smoothing out structural surface imperfections in the raw laminate before paint prep.
-
7. Painting: Priming, sanding, and spraying the final coat of vibrant orange paint to protect the underlying composite layers and give it a clean finish.
-
8. Finishing Details: Installing the smaller, critical components like cockpit weather seals, integrated headlights, and hardware brackets.
-
9. Assembly & Final Mounting: The final assembly of mechanics and composites—permanently mounting the internal trike framework inside the cured shell, routing the long chain lines, and aligning the steering linkages.
-
10. The Build Documentation: Compiling every technical drawing, garage photos, and build milestone into a physical photo album to document the entire design journey.
Moving to the Bülk Race
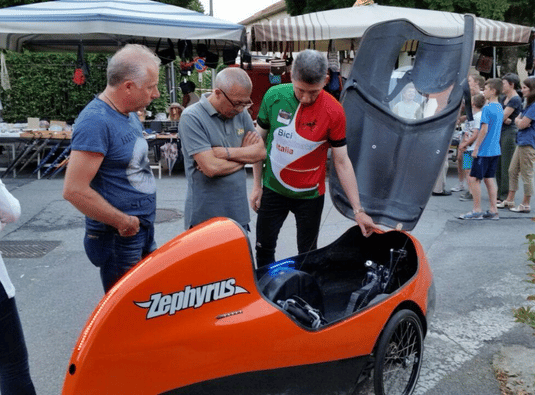
When Massimo came to our workshop to try out the Bülk Race — he brought the unique perspective of someone who knows what it’s like to build a vehicle from scratch. He didn’t just see a glossy carbon shell, he understood the practical choices behind every curve.
We don’t design these shapes to chase buzzwords, we just want to help you move through the air with a bit less effort, making your long rides a little easier. We’re incredibly grateful to independent builders like Massimo who remind us that this entire industry started with nothing more than a sketch and a garage full of friends.
Shared Features Across All Models
 Comfort & Space
Offering best-in-class shoulder room, this models features four body sizes with matching rigid, side-support seats and a huge cargo volume complemented by optional front storage compartments.
 Safety First
Engineered for safety and reliability, this design features a GFK-reinforced cockpit for better GPS reception, a protective tail hump, and an Innegra/Nylon sandwich for crash absorption, complemented by a rounded shoulder rim to retain the rider and redundant dual braking for asymmetric control.
 Maintenance Made Easy
This design optimizes convenience and efficiency by featuring front and rear service hatches for easy access to the bottom bracket, luggage, and drivetrain, alongside side hatches with quick-release axles and oversized chain pulleys to minimize drag
 Extras & Tech Options
The system features integrated, misalignment-proof mirrors and precise tank steering with an optional tiller, further enhanced by multiple hood types with anti-fog venting and an available electrical package including headlights, taillights, blinkers, and a horn.
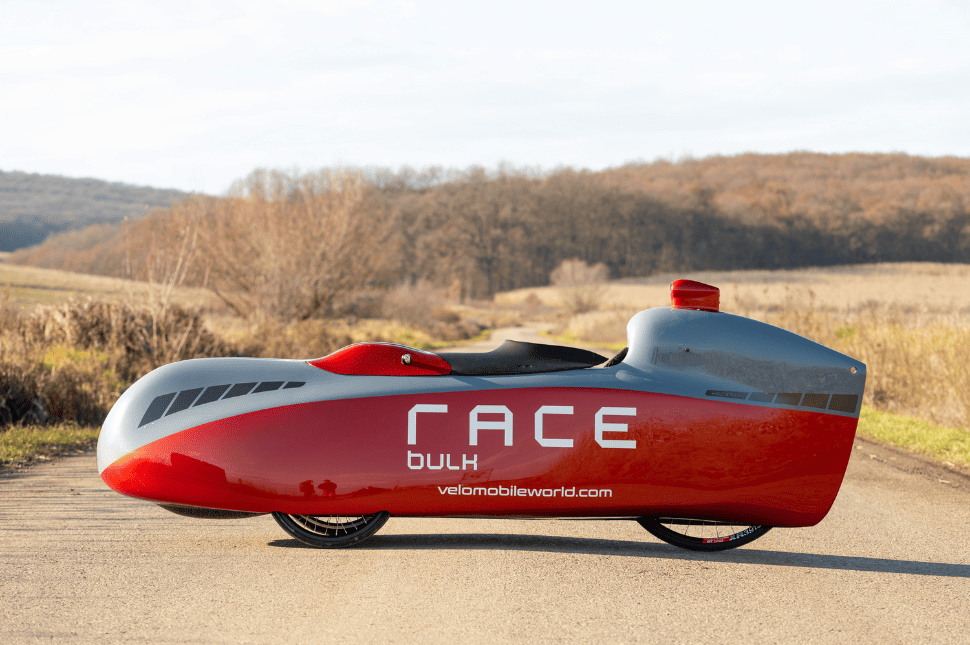
Newest model - Bulk Race
Faster | Stronger | Bülk Race 🚀
